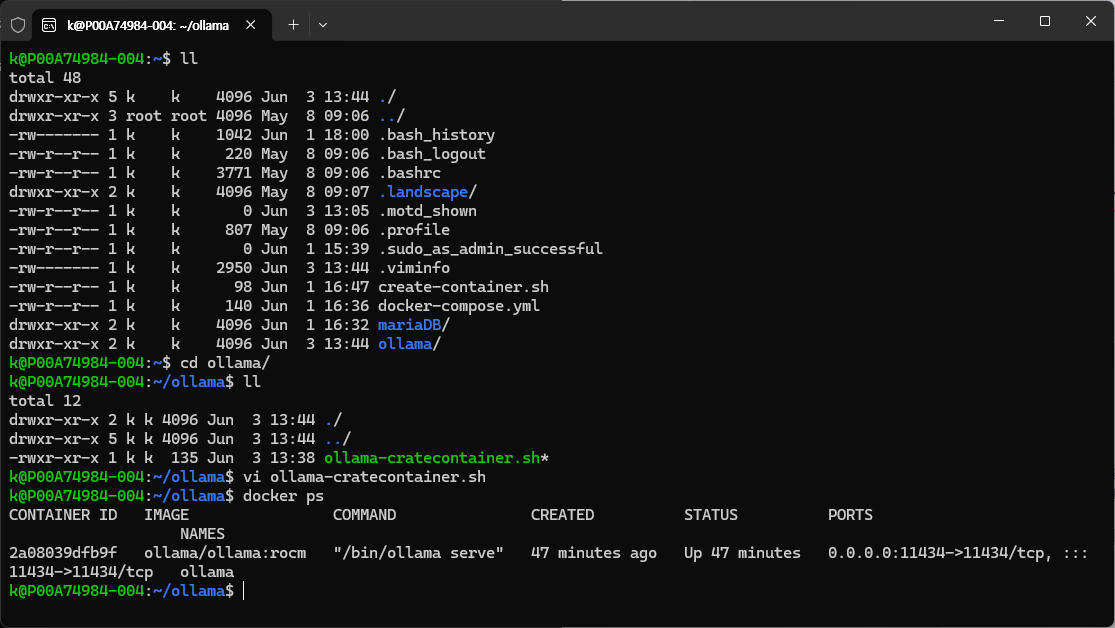
Ollama 설치
# Ollama docker 이미지 설치
docker pull ollama/ollama

# 컨테이너 생성( ADM 용 + window여서 privalege 옵션추가)
docker run -d --device /dev/kfd --device /dev/dri -v ollama:/root/.ollama -p 11434:11434 --name ollama --privileged ollama/ollama:rocm
한국어 base모델 설치
https://huggingface.co/heegyu/EEVE-Korean-Instruct-10.8B-v1.0-GGUF/tree/main
heegyu/EEVE-Korean-Instruct-10.8B-v1.0-GGUF at main
huggingface.co
ggml-model-Q4_K_M.gguf 다운로드

# Ollama 내부 접속
docker exec -it ollama bash

# 사용할 디렉토리 생성
mkdir ~/evee


# 컨테이너 밖에서 작업
# 호스트의 모델을 ollama 컨테이너로 이동
docker cp ./ggml-model-Q4_K_M.gguf ollama:/root/evee


# 컨테이너 내부 접속후
#파일 확인
/root/evee
Custom Model 생성
생성을 위한 모델 설정 파일 생성
Modelfile
FROM ggml-model-Q5_K_M.gguf

TEMPLATE """{{- if .System }}
<s>{{ .System }}</s>
{{- end }}
<s>Human:
{{ .Prompt }}</s>
<s>Assistant:
"""

SYSTEM """A chat between a curious user and an artificial intelligence assistant. The assistant gives helpful, detailed, and polite answers to the user's questions."""

PARAMETER stop <s>
PARAMETER stop </s>
모델 생성
# 커스텀 모델 생성
ollama create EEVE-Korean-10.8B -f ./Modelfile

# 모델 확인
ollama list
모델 실행
컨테이너 내부에서 사용
# 컨테이너 내부에서 모델 실행
ollama run EEVE-Korean-10.8B:latest
컨테이너 외부에서 사용
# 컨테이너 외부에서 모델 실행
docker exec -it ollama ollama run EEVE-Korean-10.8B:latest
크롬 확장 프로그램을 활용한 UI
https://chromewebstore.google.com/detail/ollama-ui/cmgdpmlhgjhoadnonobjeekmfcehffco?hl=ko
ollama-ui
This extension hosts an ollama-ui web server on localhost
chromewebstore.google.com

'웹 정리 > TIL' 카테고리의 다른 글
| ssh session 종료 후에도 프로그램 실행(nohup) (0) | 2024.08.27 |
|---|---|
| 트리 구조 오브젝트 만들기(js) (0) | 2024.07.11 |
| Mysql Event(주기적으로 쿼리 실행하기) (0) | 2024.06.20 |
| TIL(오류 케이스정리) Kafka, DB (0) | 2024.06.13 |
| Kafka Producer의 config(linger, acks, compression) (0) | 2024.04.30 |